


How To
How to Tie a Bow with Velvet Ribbon: A Comprehensive Guide
How to Tie a Bow with Velvet Ribbon: A Comprehensive Guide
Velvet ribbon has long been a symbol of luxury and sophistication. Its rich texture and sumptuous feel make it a favourite choice for gift wrapping and decorative accents alike. In this comprehensive guide, we will explore everything you need to know about tying a bow with velvet ribbon—from the essential materials and step-by-step instructions to creative ideas for using your decorative velvet bows for Christmas trees, mantlepieces, new-born gifts, and more. Whether you are a DIY enthusiast or simply looking to add a touch of elegance to your presentation, this article is designed to provide clear, concise, and expert advice.
Introduction: The Art and Craft of Velvet Ribbon Bows
Tying a bow with velvet ribbon is more than just a decorative exercise; it is an art form that blends precision, creativity, and a keen eye for detail. The process is accessible to beginners yet offers enough room for experimentation and personal flair for seasoned crafters. In this guide, we’ll take you through the process step by step, ensuring you understand every detail so that your finished bow is nothing short of spectacular.
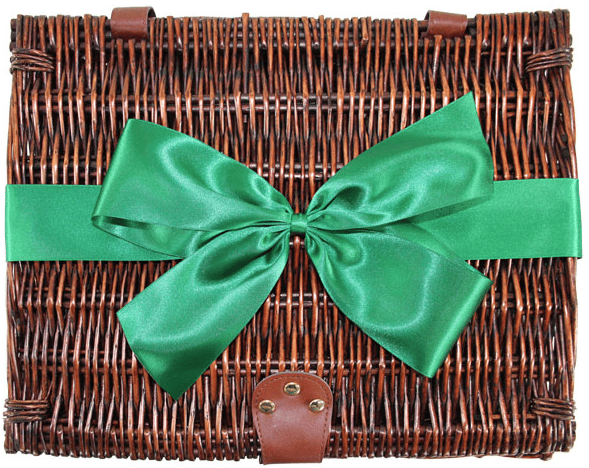
When it comes to gift wrapping, a well-tied bow with luxurious velvet ribbon can transform a simple package into an exquisite present. Not only does it serve as a decorative focal point, but it also conveys thoughtfulness and attention to detail—qualities that make any gift feel truly special.
Materials and Tools Required
Before embarking on your bow-tying journey, it is essential to gather all the necessary materials. Here is a list of items you will need:
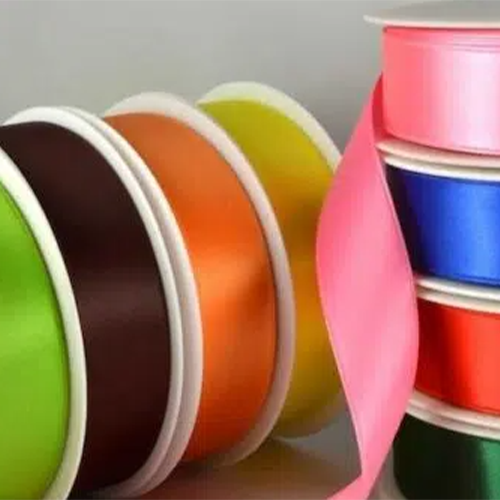
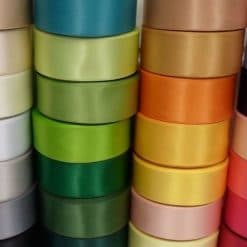
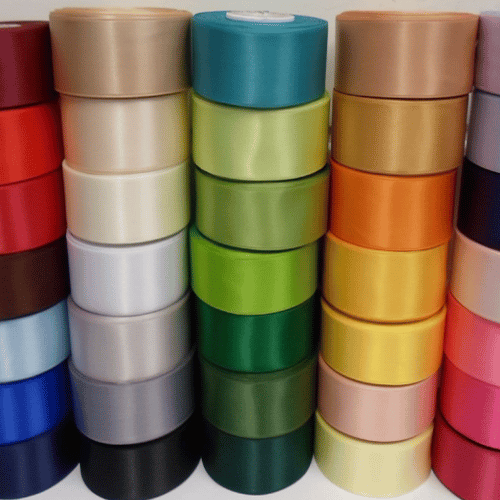
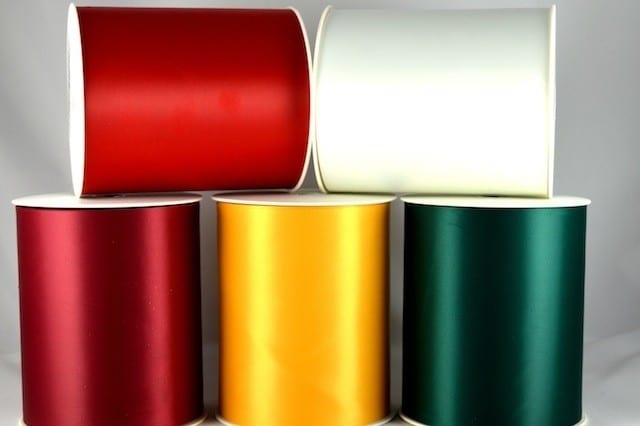
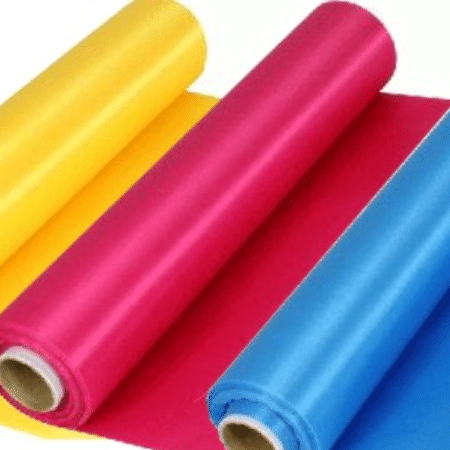
- Velvet Ribbon: Choose a ribbon that is not only rich in colour but also boasts a rich, textured feel. For those seeking a truly decorative velvet bow, look for ribbons that are durable and flexible.
- Scissors: A sharp pair of fabric scissors is ideal for cutting the ribbon cleanly.
- Measuring Tape or Ruler: Ensuring precision in your measurements will help you achieve a balanced and symmetrical bow.
- Needle and Thread (Optional): These can be useful for securing the bow if you plan to attach it permanently to a gift or decoration.
- Hot Glue Gun or Double-Sided Tape: These tools are excellent for affixing the bow to your desired surface.
- Pins or Clips: Helpful for holding the bow in place while you work on adjustments.
Taking the time to prepare these materials not only ensures a smooth process but also reduces the risk of mistakes. With your supplies ready, you are now set to learn the art of tying a flawless velvet bow.
Step-by-Step Guide to Tying a Bow with Velvet Ribbon
Creating a beautifully tied bow with velvet ribbon can be achieved by following these detailed steps. Whether you’re decorating a Christmas tree or preparing a gift for a special occasion, these instructions will guide you through the process.
Step 1: Gather Your Materials
Begin by laying out your velvet ribbon, scissors, measuring tape, and any other tools you might need. Ensure that your workspace is clean and well-lit. The quality of your final bow often depends on the care taken during this initial setup stage.
Step 2: Measuring and Cutting the Velvet Ribbon
- Measure the Length:
Decide on the size of the bow based on your project. For most gift wrapping purposes, a length of around 60–80 centimetres is ideal. For larger decorative bows, you may need a longer length. - Cutting the Ribbon:
Using your fabric scissors, cut the ribbon cleanly. A precise angled cut helps maintain the ribbon’s clean edges and ensures a professional finish. If you plan to create loops or tails, consider cutting additional lengths.
Step 3: Creating the Base Knot
- Forming the Loop:
Hold the centre of the ribbon in both hands and bring the ends together to form a basic knot. Ensure that the knot is tight enough to hold but not so tight as to damage the delicate velvet material. - Adjusting for Symmetry:
Before proceeding, adjust the loops on either side of the knot so they are of equal length. This symmetry is key to achieving a balanced and visually appealing bow.
Step 4: Forming the Bow Loops
- Create Two Loops:
Form two loops with the ribbon by bending it in the middle. These loops will form the “ears” of your bow. Ensure that each loop is roughly the same size. - Crossing the Loops:
Cross one loop over the other at the centre knot. This crossing technique is essential for forming the bow’s classic shape. - Tightening the Bow:
Gently pull on the loops and the tails of the ribbon simultaneously. This will tighten the knot and secure the shape of the bow. If necessary, use your fingers to adjust and refine the loops.
Step 5: Securing the Bow
- Reinforcing the Knot:
Once you have the desired shape, tie an additional small knot around the centre to reinforce the structure. This step is particularly important if the bow will be subjected to movement or if it is being attached to a gift. - Optional Stitching:
For a more permanent fixture, you might consider using a needle and thread to stitch the centre of the bow. Alternatively, a dab of hot glue can provide additional security, especially when affixing the bow to surfaces.
Step 6: Final Adjustments for a Perfect Bow
- Fluff and Adjust:
After securing the bow, gently fluff the loops with your fingers. Make sure the edges are smooth and the bow appears symmetrical. - Trimming Excess Ribbon:
If the ends of the ribbon are uneven or too long, trim them carefully. A clean, precise cut will enhance the overall appearance of the bow. - Final Touches:
Inspect your work under good lighting. Small adjustments can make a significant difference in the overall presentation. Once satisfied, your decorative velvet bow is ready to adorn your gift or decoration.
Tips and Tricks for a Perfect Bow
Achieving a rich, textured bow with velvet ribbon might seem challenging at first, but these expert tips can simplify the process:
- Practice Makes Perfect: Don’t be discouraged by initial attempts. Practice tying bows with different ribbon widths and lengths to see what works best for your project.
- Work with Quality Materials: The quality of your velvet ribbon can make a huge difference. Invest in a ribbon that is both durable and visually appealing.
- Use a Mirror: Having a mirror nearby can help you see the bow from all angles, ensuring symmetry and balance.
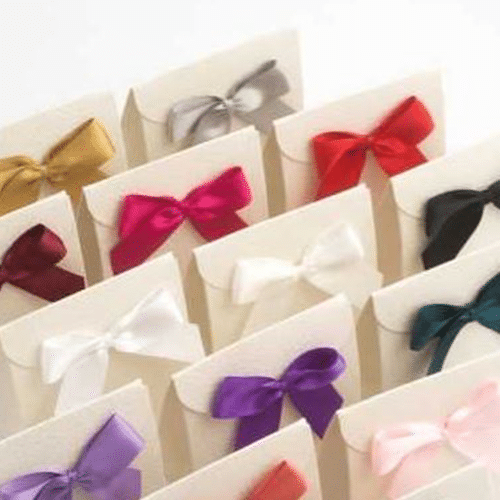
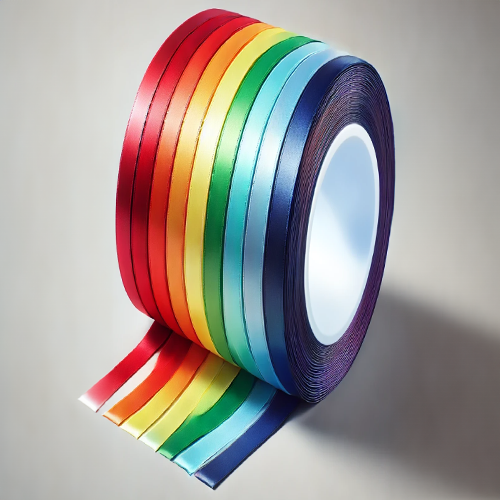
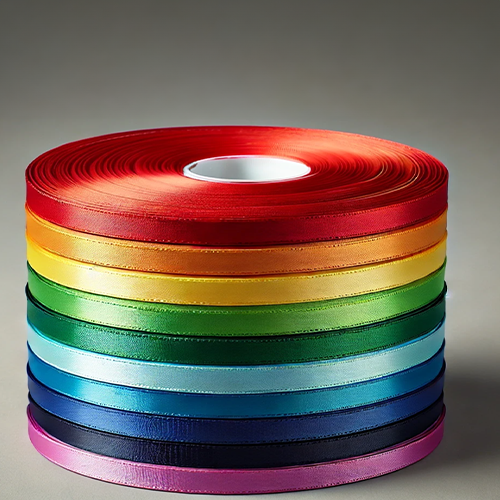
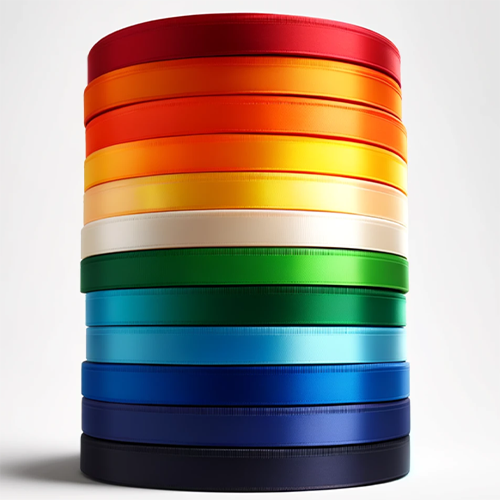
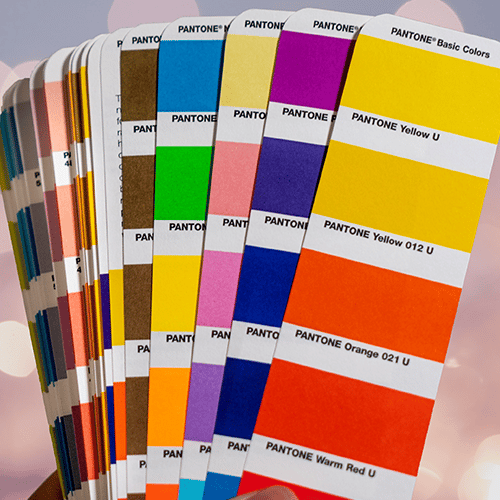
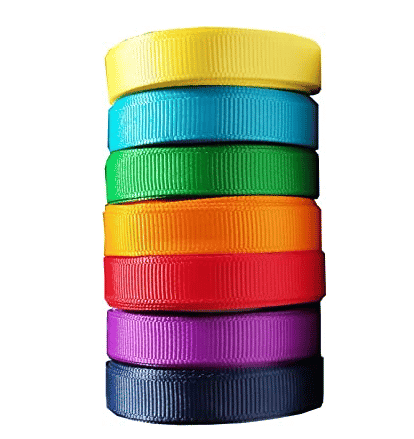
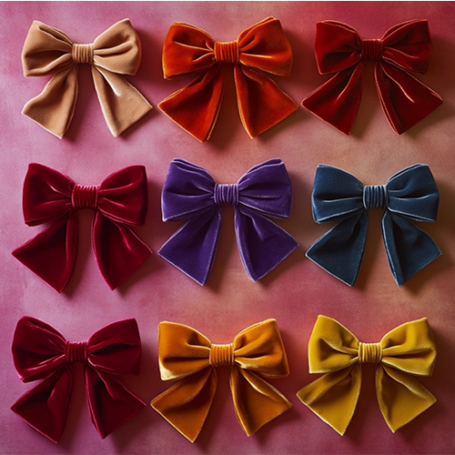
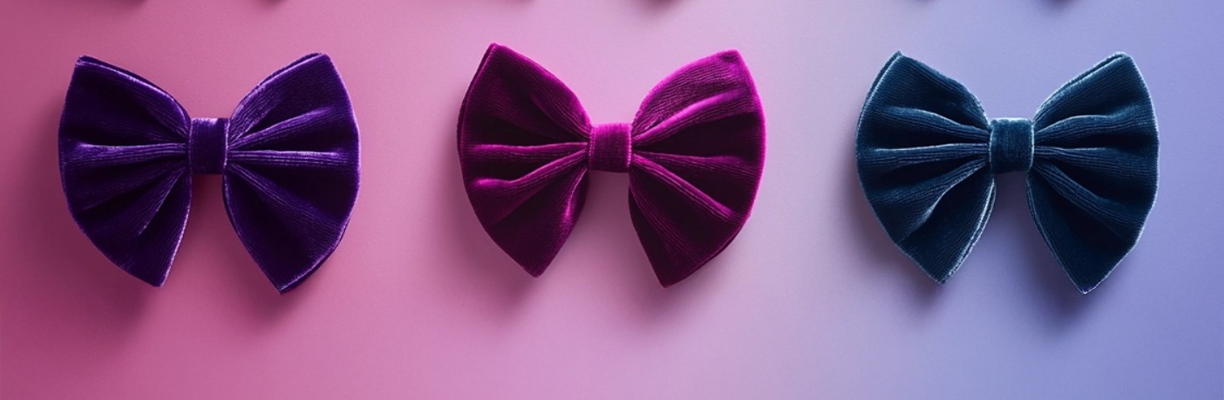
- Experiment with Colours: Velvet ribbons come in a variety of colours. Experiment with different shades to complement your gift wrapping or décor.
- Maintain Tension: While tying the bow, maintain an even tension on both sides. This helps in keeping the loops consistent and the overall design neat.
- Keep Your Workspace Neat: A clean, organised workspace can significantly enhance your efficiency and accuracy in creating the perfect bow.
Implementing these techniques will help you consistently create bows that are not only visually appealing but also secure and durable.
Creative Uses for Velvet Ribbon Bows
Velvet ribbon bows offer endless possibilities in both decorative and practical applications. Let’s explore some creative ideas for utilising these luxurious bows.
Velvet Ribbon for Gift Wrapping
A beautifully tied bow can transform any gift into a work of art. When combined with high-quality wrapping paper, a decorative velvet bow serves as the finishing touch that makes a present truly memorable. The rich texture of velvet adds a layer of sophistication, making it perfect for birthdays, anniversaries, or special celebrations.
For additional inspiration on gift wrapping, check out our Gift Wrapping Tips page for more creative ideas and techniques. This internal resource offers step-by-step guides on how to pair different types of ribbons with various wrapping styles.
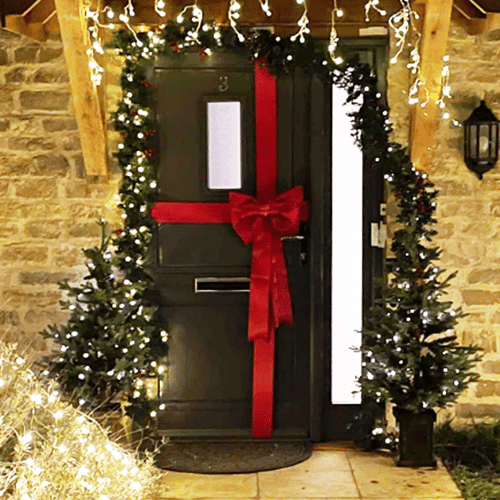
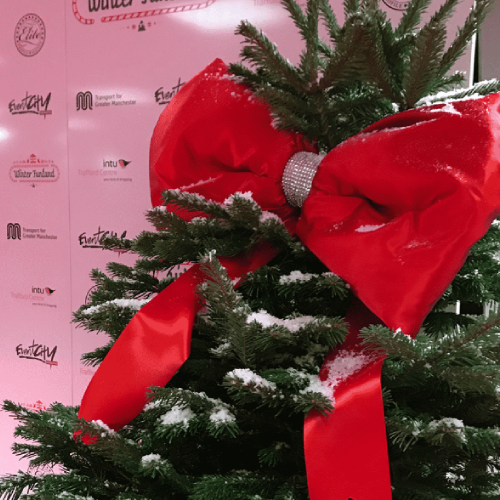
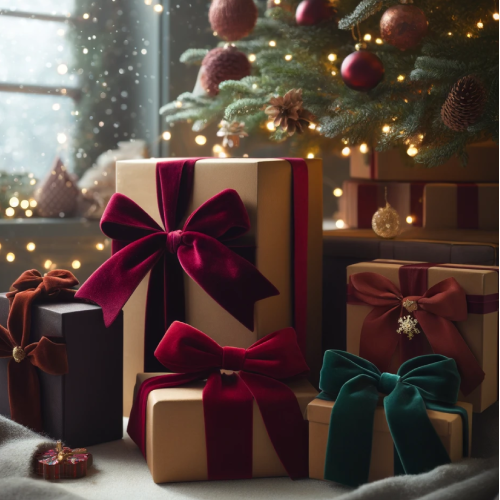
Decorative Velvet Bow for Christmas Trees
Christmas is a time when decoration plays a crucial role in setting the festive mood. Velvet bows, with their deep, luxurious appeal, are an excellent choice for adorning Christmas trees. They add a touch of elegance and can be used in various colour combinations to suit your holiday theme.
For those interested in exploring more festive decoration ideas, you might find inspiration from our blog. Remember to choose colours that complement your tree ornaments and overall décor.
Velvet Bows for Mantlepieces
Mantlepieces are a focal point in many living rooms, and adding a decorative velvet bow can create a stunning visual impact. Whether you are celebrating a seasonal event or simply adding a decorative touch to your home, a rich textured bow is a subtle yet effective detail that enhances your interior design.
Velvet Bows for New-Borns
When it comes to celebrating a new arrival, every detail matters. Velvet bows are frequently used to adorn new-born gifts, garments, and nursery décor. Their soft texture and sophisticated look make them a popular choice among parents and gift-givers. They bring an element of luxury to baby showers and can be used in a variety of ways—from wrapping delicate gifts to embellishing baby blankets.
Customers Real-life Examples
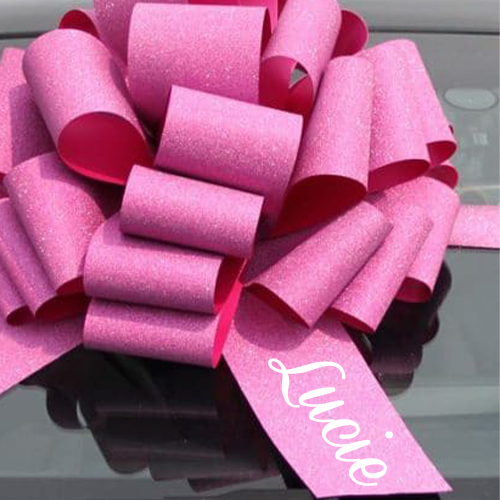
A Mother’s Touch
Consider the case of Lucie, a new mother who wanted to create a memorable keepsake for her baby’s first birthday. Lucie used a combination of pastel-coloured velvet ribbons and carefully tied bows to embellish a scrapbook filled with cherished photographs. The decorative velvet bows added a personalised touch, making the scrapbook a treasured family heirloom. Lucie’s thoughtful approach not only impressed her family but also inspired other parents in her community to explore creative uses of velvet ribbon in baby-related crafts.
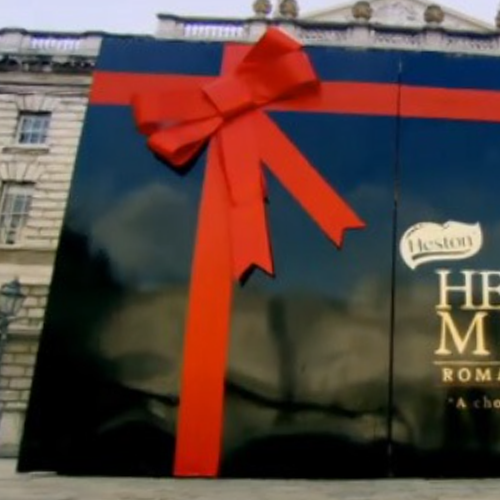
Festive Corporate Gifting
Another real-life example comes from a boutique corporate gifting company that specialises in luxury presents. The company incorporated decorative velvet bows into their gift wrapping process to create a distinctive brand identity. By using a combination of rich, textured bows and high-quality wrapping paper, they managed to transform standard corporate gifts into memorable tokens of appreciation. The attention to detail in their presentation received widespread praise, reinforcing the value of quality craftsmanship in gift wrapping.
Wedding Décor Inspiration
In the world of weddings, every detail contributes to the overall ambience. A wedding planner once shared how they used velvet ribbon bows as centrepieces for reception tables. These bows, crafted with care and precision, complemented the elegant floral arrangements and soft lighting. The rich hues of the velvet ribbon enhanced the romantic atmosphere, and guests frequently commented on the innovative use of such a luxurious material in the décor.
Pros and Cons of Using Velvet Ribbon for Bows
As with any craft material, there are advantages and potential drawbacks when working with velvet ribbon. Here is a balanced view of its benefits and limitations:
Pros
- Luxurious Appearance:
Velvet ribbon is synonymous with opulence and sophistication. Its rich texture makes it ideal for projects where aesthetics are paramount. - Versatility:
Whether you are wrapping a gift, decorating for a festive occasion, or adding a personal touch to interior décor, velvet bows work wonderfully in a variety of settings. - Durability:
High-quality velvet ribbons are both strong and resilient, ensuring that your bow maintains its shape and appeal over time. - Tactile Appeal:
The soft, plush feel of velvet adds an extra dimension to any craft, making it a delight to both see and touch.
Cons
- Cost:
Velvet ribbon can be more expensive than other types of ribbon, which might be a consideration for budget-conscious projects. - Maintenance:
Due to its delicate texture, velvet requires careful handling. It can attract dust and may be prone to creasing if not stored properly. - Limited Flexibility:
While the rigidity of velvet can contribute to its luxurious look, it may also limit the range of intricate designs compared to more pliable materials.
Frequently Asked Questions (FAQs)
1. What is the best type of velvet ribbon for tying bows?
For a rich textured bow, choose a high-quality velvet ribbon that is both durable and visually appealing. Look for ribbons with a consistent width and a soft, plush finish.
2. How do I prevent my bow from losing its shape?
Ensure that you maintain an even tension while tying the bow and secure it properly with an extra knot or stitching. Using a hot glue gun or double-sided tape can also help keep the bow in place.
3. Can I use velvet ribbon for outdoor decorations?
While velvet ribbon is best suited for indoor use due to its delicate texture, it can be used outdoors in mild conditions. However, prolonged exposure to moisture or harsh sunlight may affect its appearance.
4. How do I remove wrinkles from my velvet ribbon?
If your velvet ribbon becomes creased, you can gently steam it or lightly press it between a cloth and an iron on a low setting. Always test on a small area first to avoid damage.
5. What creative ideas can I explore with velvet ribbon bows?
The versatility of velvet ribbon makes it perfect for a range of projects, including gift wrapping, decorating Christmas trees, enhancing mantlepieces, and creating beautiful accents for new-born gifts.
Mastering the Art of Velvet Ribbon Bows
Tying a bow with velvet ribbon is an art that requires patience, precision, and a touch of creativity. By following the detailed steps outlined in this guide, you can create a decorative velvet bow that not only enhances your gift wrapping but also serves as a stunning decorative element for your home. From the initial setup to the final adjustments, each step plays a crucial role in ensuring that your bow is as beautiful as it is functional. If this isn’t for you then why not get in touch with our own bow making team, and we can do it for you!
In summary, remember the following key points:
- Preparation is Key: Always begin with the right materials and a clean workspace.
- Follow the Steps: Each stage—from measuring and cutting to forming the loops and securing the knot—is essential for a professional finish.
- Experiment and Adapt: Don’t be afraid to try new techniques and adjust the process to suit your personal style.
- Creative Application: Use your decorative velvet bows to enhance everything from gifts and festive décor to personalised projects like wedding centrepieces or new-born gifts.
We encourage you to experiment with different ribbon colours, widths, and tying techniques until you find the style that best suits your needs. Whether you are preparing a special gift or adding a touch of luxury to your home décor, a well-tied velvet ribbon bow is sure to impress.
Have you tried tying a bow with velvet ribbon before? Share your experiences and creative ideas in the comments below! If you found this guide helpful, please share it with friends and family who might also appreciate the beauty of a well-crafted bow. For more DIY tips and gift wrapping ideas, visit our Gift Wrapping Tips page.
For premium quality velvet ribbon, consider browsing options from trusted suppliers like PerosnalisedPrintedRibbons.co.uk.
Final Thoughts
Creating a decorative velvet bow is more than just a craft project—it is an opportunity to express creativity and add a personal touch to your celebrations and home décor. With its luxurious texture and sophisticated appearance, velvet ribbon is the perfect medium to transform ordinary gifts and decorations into works of art. By mastering these techniques and experimenting with your own unique ideas, you can enjoy the satisfaction of producing something truly special.
Remember, practice is the key to perfection. The more you work with velvet ribbon, the more adept you will become at producing a rich, textured bow that stands out. So, gather your materials, set up your workspace, and let your creativity flow as you tie that perfect bow.
Happy crafting! Whether you are a beginner or a seasoned DIY enthusiast, this guide is designed to be your go-to resource for all things related to tying bows with velvet ribbon. With clear instructions, practical tips, and inspiring ideas, we hope you feel confident in your ability to create stunning decorative pieces that impress and delight. Enjoy the process, and let your creativity shine through every loop and knot!
For further reading on related topics, consider exploring our other DIY and craft guides available on our website. Your journey to mastering creative gift wrapping and home décor starts here!