


How To Make Ribbon Roses
How To Make Ribbon Roses

Unfold Your Creativity: How To Make Ribbon Roses 🌸
Looking to add a touch of elegance and handmade charm to your projects? Look no further than the captivating allure of a ribbon rose! This easy-to-follow guide will empower you to craft these beautiful blossoms, perfect for embellishing cakes, adorning gifts, creating breathtaking wreaths, or simply crafting a gorgeous bouquet.
Gather Your Supplies:
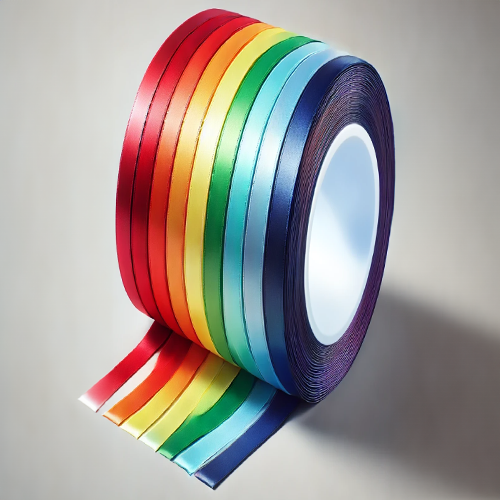
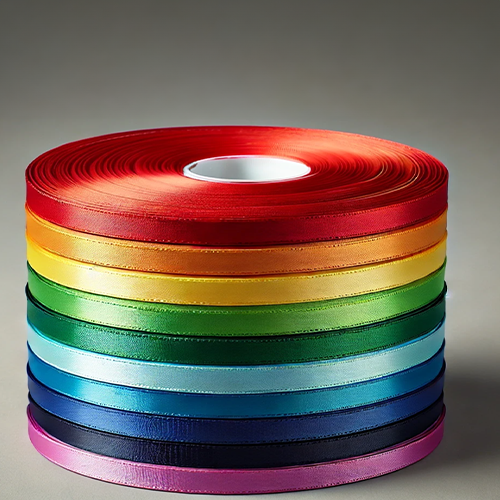
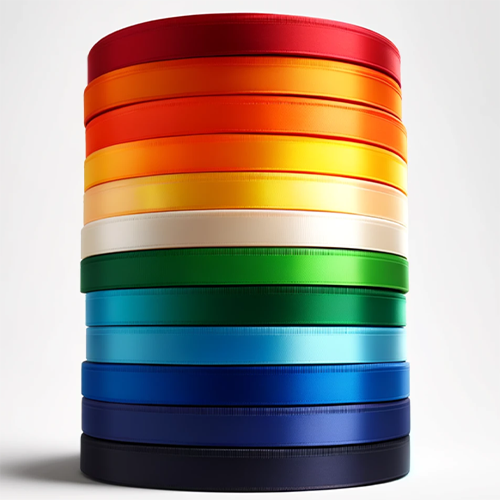
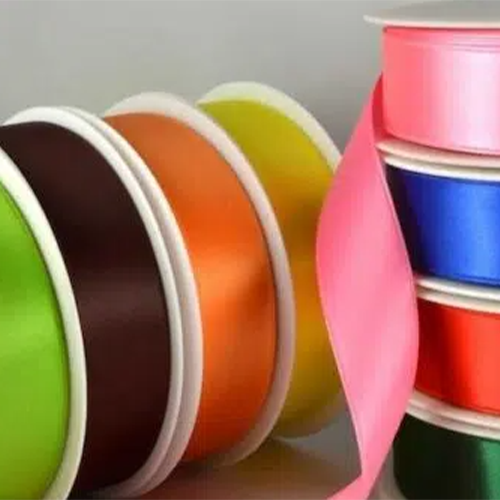
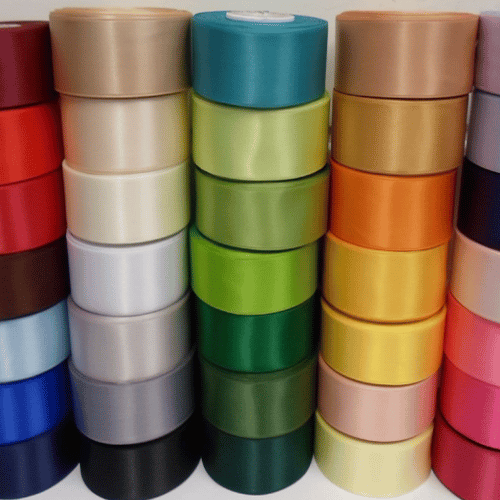
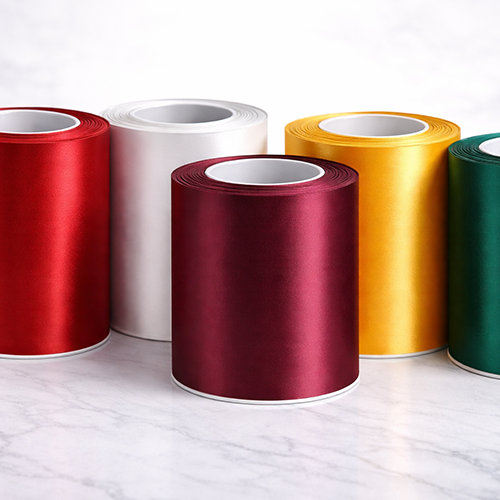
- Ribbon: Opt for 25mm satin ribbon for best results. A length of approximately 80cm will do the trick!
Let’s Begin! Step-by-Step Rose Making:
- Laying the Foundation: Place your ribbon lengthwise across your work surface, aligning it from North to South.
- First Fold: Take the ribbon end farthest from you and fold it neatly over to the right, leaving about 7cm of “tail” in its original position. Crease the corner sharply, forming a right angle.
- Building the Square: Fold the long ribbon length down towards you, creating a crease. This starts shaping your square, aiming for a top measurement of approximately 2cm. Gently hold the shape steady with your fingers.
- Completing the Square: Fold the long ribbon length over to the left, return it to your starting position, and crease again. Ensure the right side of your square also measures around 2cm. Leave a sliver of the original “tail” outside the square (it’ll make more sense when you see the video!).
- Repeating the Magic: Continue folding and creasing in precisely the same way, stacking folds atop each other until you reach the ribbon’s end. Keep your fingers steady for a neat square with a central hole.
- Creating the Core: Holding your ribbon square firmly, pick it up. Take the ribbon end you’ve been folding with, pinch it together, and thread it down through the centre hole.
- Twisting into Bloom: Grasp the threaded ribbon end with your right hand and gently twist it clockwise, circling underneath your square. Avoid pulling; just a gentle twist will do.
- Building Layer by Layer: Keeping a firm grip on the square, carefully move your holding fingers down to the next ribbon layer. Continue twisting as you go, revealing more of your rose’s form. Remember, no pulling, just twisting!
- Final Flourishes: Continue working your way down each layer, releasing and twisting until your complete rose takes shape. Use the remaining ribbon tail to wrap around the base, securing it tightly with cotton. Wrap the cotton multiple times around the base, tying a double knot.
- Perfecting the Petals: Gently tease out the petal layers for a beautifully full bloom!
Pro Tip: Don’t get discouraged if it takes a few tries – practice makes perfect!
Once you’ve mastered this ribbon rose technique, unleash your creativity! Adorn cakes and gifts, craft stunning wreaths, or create bouquets that capture hearts. The possibilities are endless!