


Custom Printed Ribbons
DIY Delight: Step-by-Step Guide to Creating Stunning Custom Ribbon Projects for Valentine’s Day
DIY Delight: Step-by-Step Guide to Creating Stunning Custom Ribbon Projects for Valentine’s Day
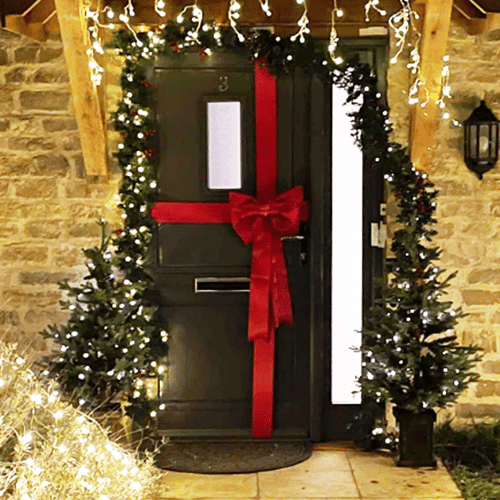
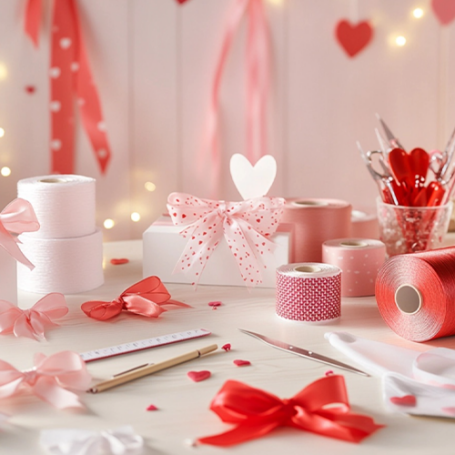
Valentine’s Day is just around the corner, and what better way to celebrate the season of love than by adding a personal, handcrafted touch to your gifts and décor? In this detailed tutorial, we’ll walk you through creating beautiful custom printed ribbons that capture the spirit of Valentine’s Day. Whether you’re a seasoned DIY enthusiast or just starting out, our friendly guide—complete with high-quality visuals and a handy checklist—will help you craft projects that wow your friends, family, and clients. Plus, if you’re looking for premium materials or ready-made, exquisitely designed bows, our website offers a fantastic selection of custom printed ribbons and bows that are perfect for any occasion!
What You’ll Need
Before diving into the project, gather the following materials and tools. Remember, you can also shop our collection of custom printed ribbons and pre-made bows here for that extra special touch.
- Materials:
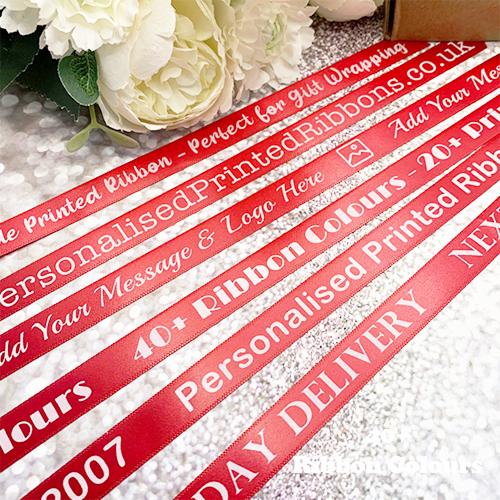
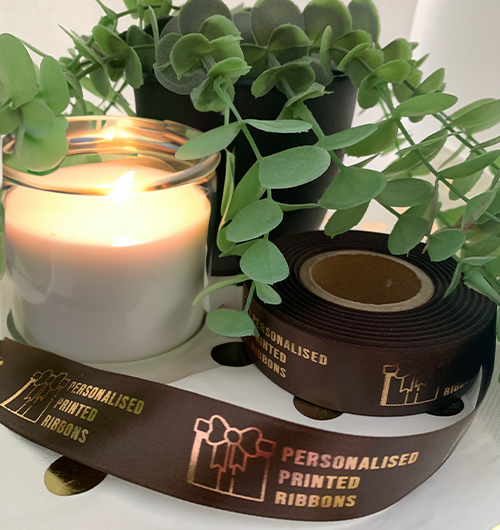
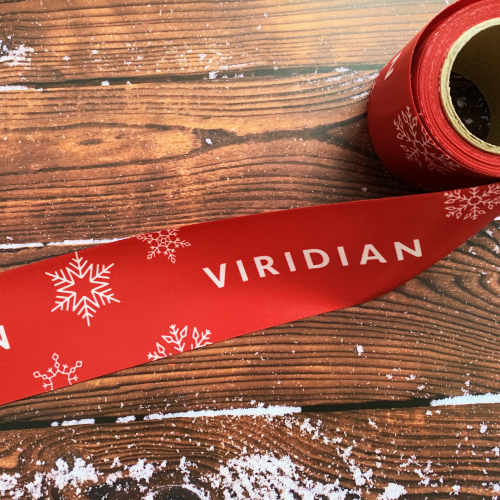
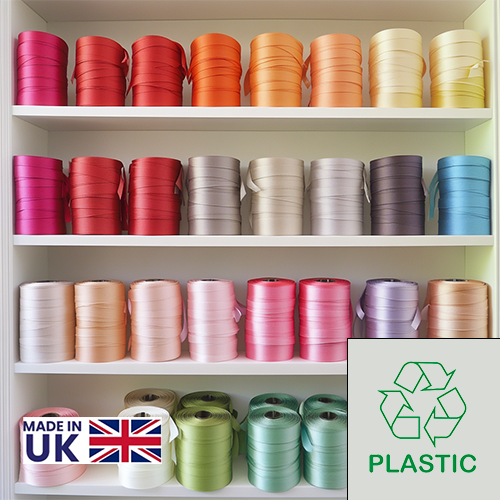
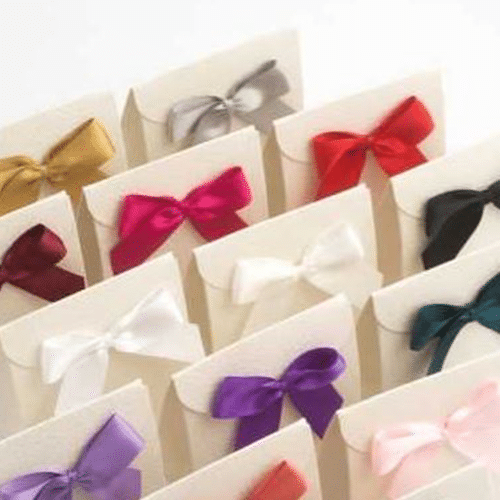
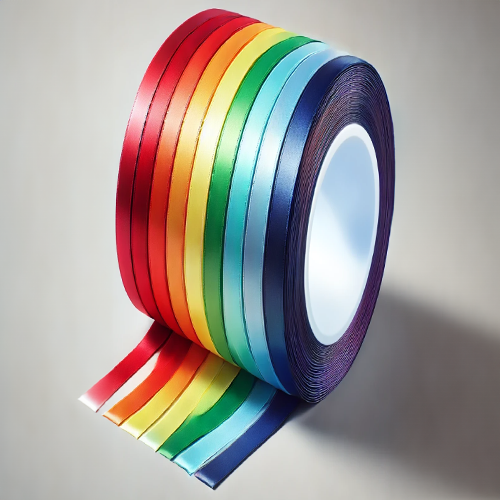
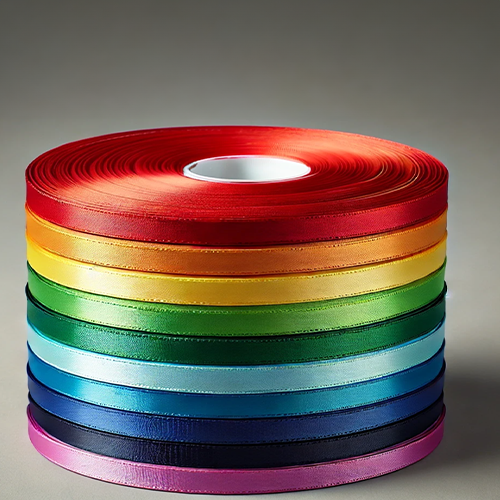
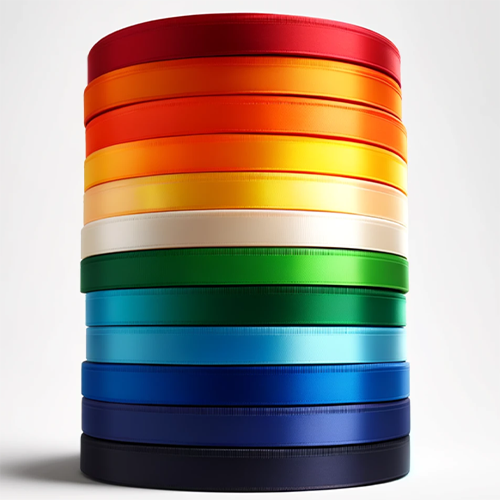
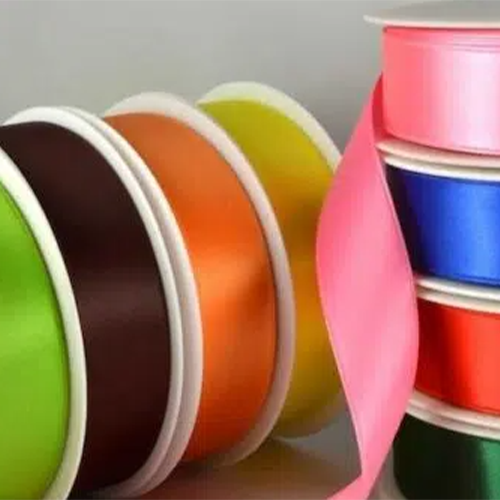
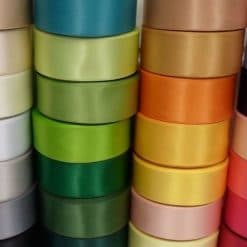
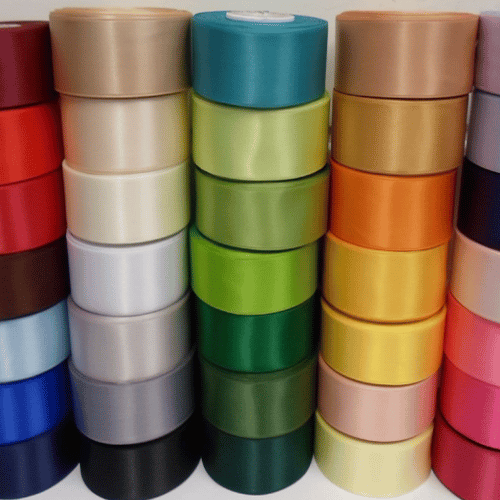
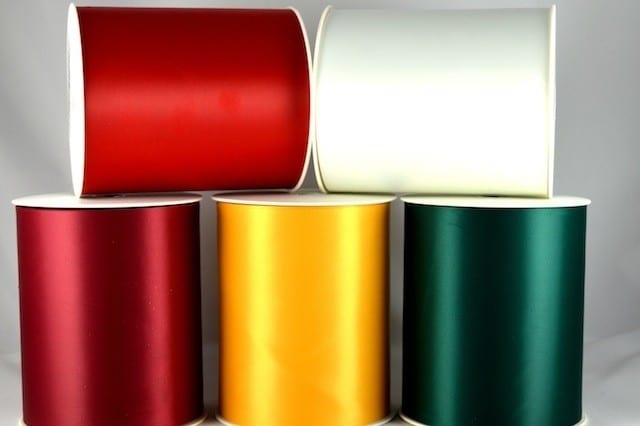
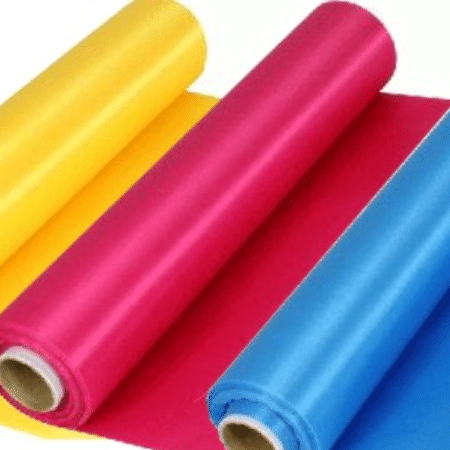
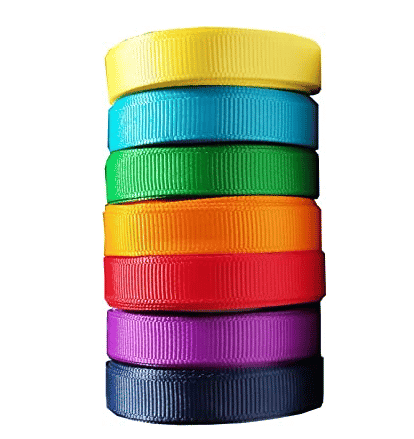
- Rolls of high-quality ribbon (choose colours like red, pink, white, or pastel hues) – check out our custom printed options!
- Fabric or printable vinyl (if planning to print your design)
- Transfer paper (optional, for heat transfer projects)
- Iron-on adhesive (for fabric projects)
- Scissors and cutting mat
- Ruler or measuring tape
- Fabric markers or permanent markers
- Iron or heat press (if using iron-on methods)
- Tools & Supplies:
- Computer with design software (like Canva or Adobe Illustrator)
- Printer (inkjet for fabric transfers or laser for vinyl)
- Iron for heat application
- Pencil and eraser (for sketching your ideas)
Step 1: Concept & Design
Brainstorm Your Valentine’s Theme
Begin by sketching ideas that evoke the warmth and romance of Valentine’s Day. Consider incorporating:
- Heart motifs: Simple hearts, intertwined designs, or abstract love symbols.
- Romantic phrases: Think “Be Mine,” “Love Always,” or custom messages that speak from the heart.
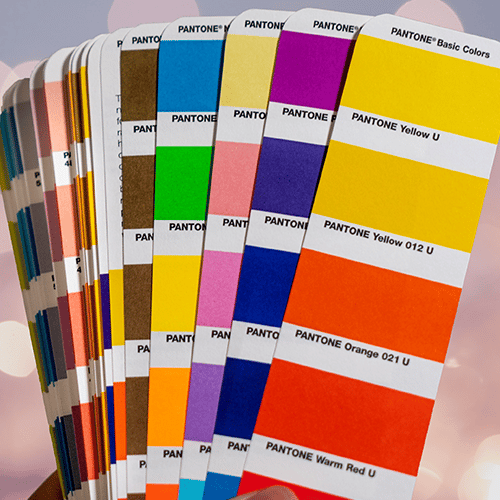
- Colour Palette: Embrace reds, pinks, and soft pastels to create an inviting, festive look.
Create Your Design
- Open Your Design Software: Start with a blank canvas sized to your ribbon’s dimensions.
- Choose Fonts and Graphics: Select fonts that are elegant yet readable and incorporate simple graphics.
- Layout: Arrange your elements on the canvas, ensuring a balanced composition.
- Finalise Your Design: Save your file in a high-resolution format suitable for printing (PDF or PNG are usually best).
Tip: If you’re new to design, many free online tools offer customisable Valentine’s Day templates to help you get started.
Step 2: Prepare Your Ribbon
Cutting and Setting Up
- Measure and Cut: Using your ruler and scissors, cut the ribbon to your desired length. Make sure your edges are even.
- Test Fit: Lay your printed design on the ribbon to ensure it fits perfectly. Adjust the size if necessary.
- Prepare for Application: If you’re using fabric or vinyl, ensure that your ribbon is clean and wrinkle-free before applying your design.
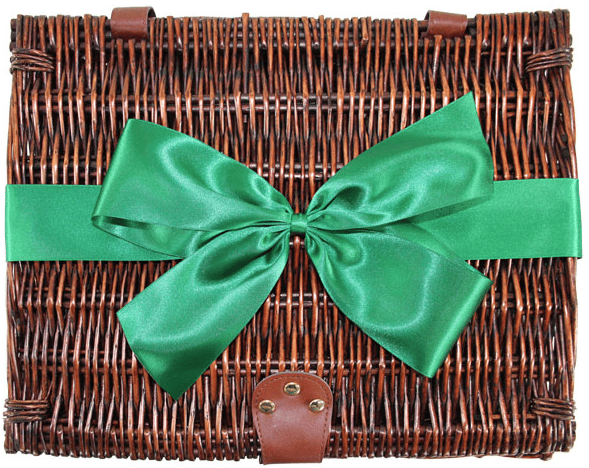
Pro Tip: If you’re pressed for time or want a professional finish, consider browsing our pre-made bows and custom printed ribbon options available on our website. They’re crafted to perfection and ready to elevate your Valentine’s projects!
Step 3: Print and Apply Your Design
Printing Your Design
- For Printable Vinyl: Print your design directly onto the vinyl using a laser printer.
- For Fabric Transfers: Print your design onto transfer paper using an inkjet printer. Follow the instructions on the transfer paper for best results.
Applying Your Design
- Position Carefully: Place the printed design onto your ribbon. Use masking tape or temporary adhesive if needed to hold it in place.
- Heat Application:
- If using fabric transfers, follow the instructions on your transfer paper package—usually involving an iron or heat press.
- For vinyl applications, you might need a heat press or iron to activate the adhesive.
- Cool and Secure: Allow the design to cool completely before handling the ribbon further.
Visual Tip: Use high-quality images to capture each step. A close-up shot during the heat application process can make all the difference for DIYers following along.
Step 4: Finishing Touches and Personalisation
Add Extra Details
- Embellishments: Consider adding sequins, small beads, or even glitter to accentuate your design.
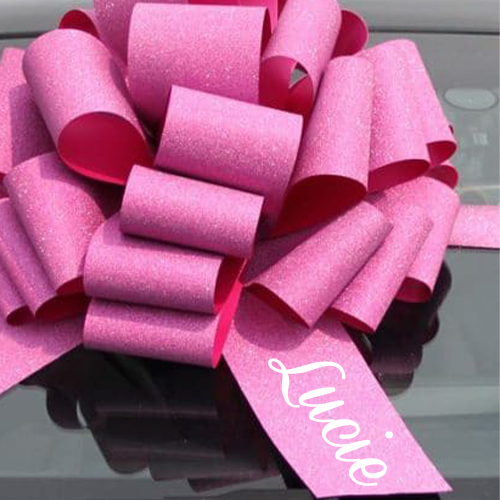
- Handwritten Messages: Use fabric markers to write a personalised note or additional decorative elements directly on the ribbon. We can also print ribbon with your handwriting too.
- Seal Your Design: If desired, apply a fabric sealant or clear adhesive spray to protect your design from wear and tear.
Final Check
Before wrapping up your project, review your work:
- Is the design centred and smooth?
- Are there any air bubbles or misaligned edges?
- Do the colours and details reflect your Valentine’s theme perfectly?
Use the checklist below to ensure you haven’t missed any steps.
Your DIY Valentine’s Ribbon Project Checklist
- Design Phase:
- Brainstorm and sketch Valentine’s Day ideas
- Create or customise a design using your preferred software
- Save the design in a high-resolution format
- Ribbon Preparation:
- Select the appropriate ribbon colour and material (or order our custom printed ribbons!)
- Measure and cut the ribbon
- Prepare the ribbon (clean and smooth)
- Printing & Application:
- Print design on printable vinyl or transfer paper
- Position the printed design on the ribbon
- Apply heat as required and let cool
- Finishing Touches:
- Add embellishments or handwritten messages
- Seal the design if needed
- Review the final product for quality and alignment
Bring It All Together with Our Custom Products
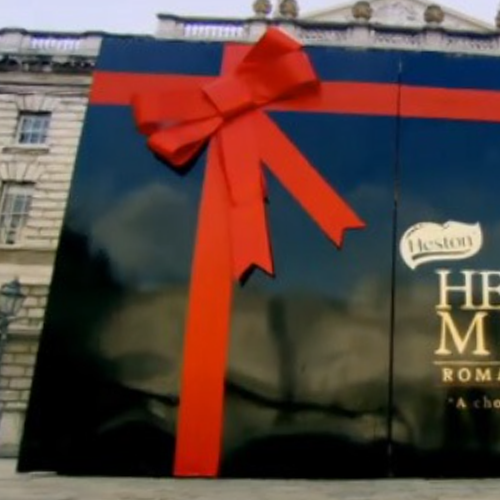
If you love crafting as much as we do, why not take the next step and bring even more creativity into your Valentine’s projects? Our website features a wide range of custom printed ribbons and exquisitely crafted bows that are perfect for gift wrapping, party decorations, or as a beautiful finishing touch to any project. Each product is designed with care and precision, ensuring you receive the highest quality materials for your creative endeavours.
Special Valentine’s Offer:
For a limited time, enjoy 5% off your first purchase of custom printed ribbons or bows when you use the promo code LOVE5 at checkout. Shop Now and add a professional flair to your DIY projects!
Creating your own custom printed ribbons for Valentine’s Day not only adds a unique, personal touch to your celebrations but also gives you the satisfaction of crafting something truly special. Whether you’re enhancing your own projects or ordering our ready-made bows and ribbons to save time, we’re here to help you spread love and creativity this season.
Ready to Get Started?
Don’t forget to explore our exclusive collection of custom printed ribbons and bows designed specifically for Valentine’s Day. Share your finished projects on social media with the hashtag #ValentineRibbonDIY and join our community of creative makers!
Happy crafting, and have a wonderfully creative Valentine’s Day!
Go To Shop